by Michael Carding – Qualified Mountain Walk Leader
If you are planning to go walking in the mountains, then successful navigation is going to be key to your enjoyment and safety. Many navigation techniques use topics which are taught in GCSE mathematics lessons, and even in the age of Smart phones and GPS it is important to understand the basic techniques and be confident in their use.
First Visit to the Mountains
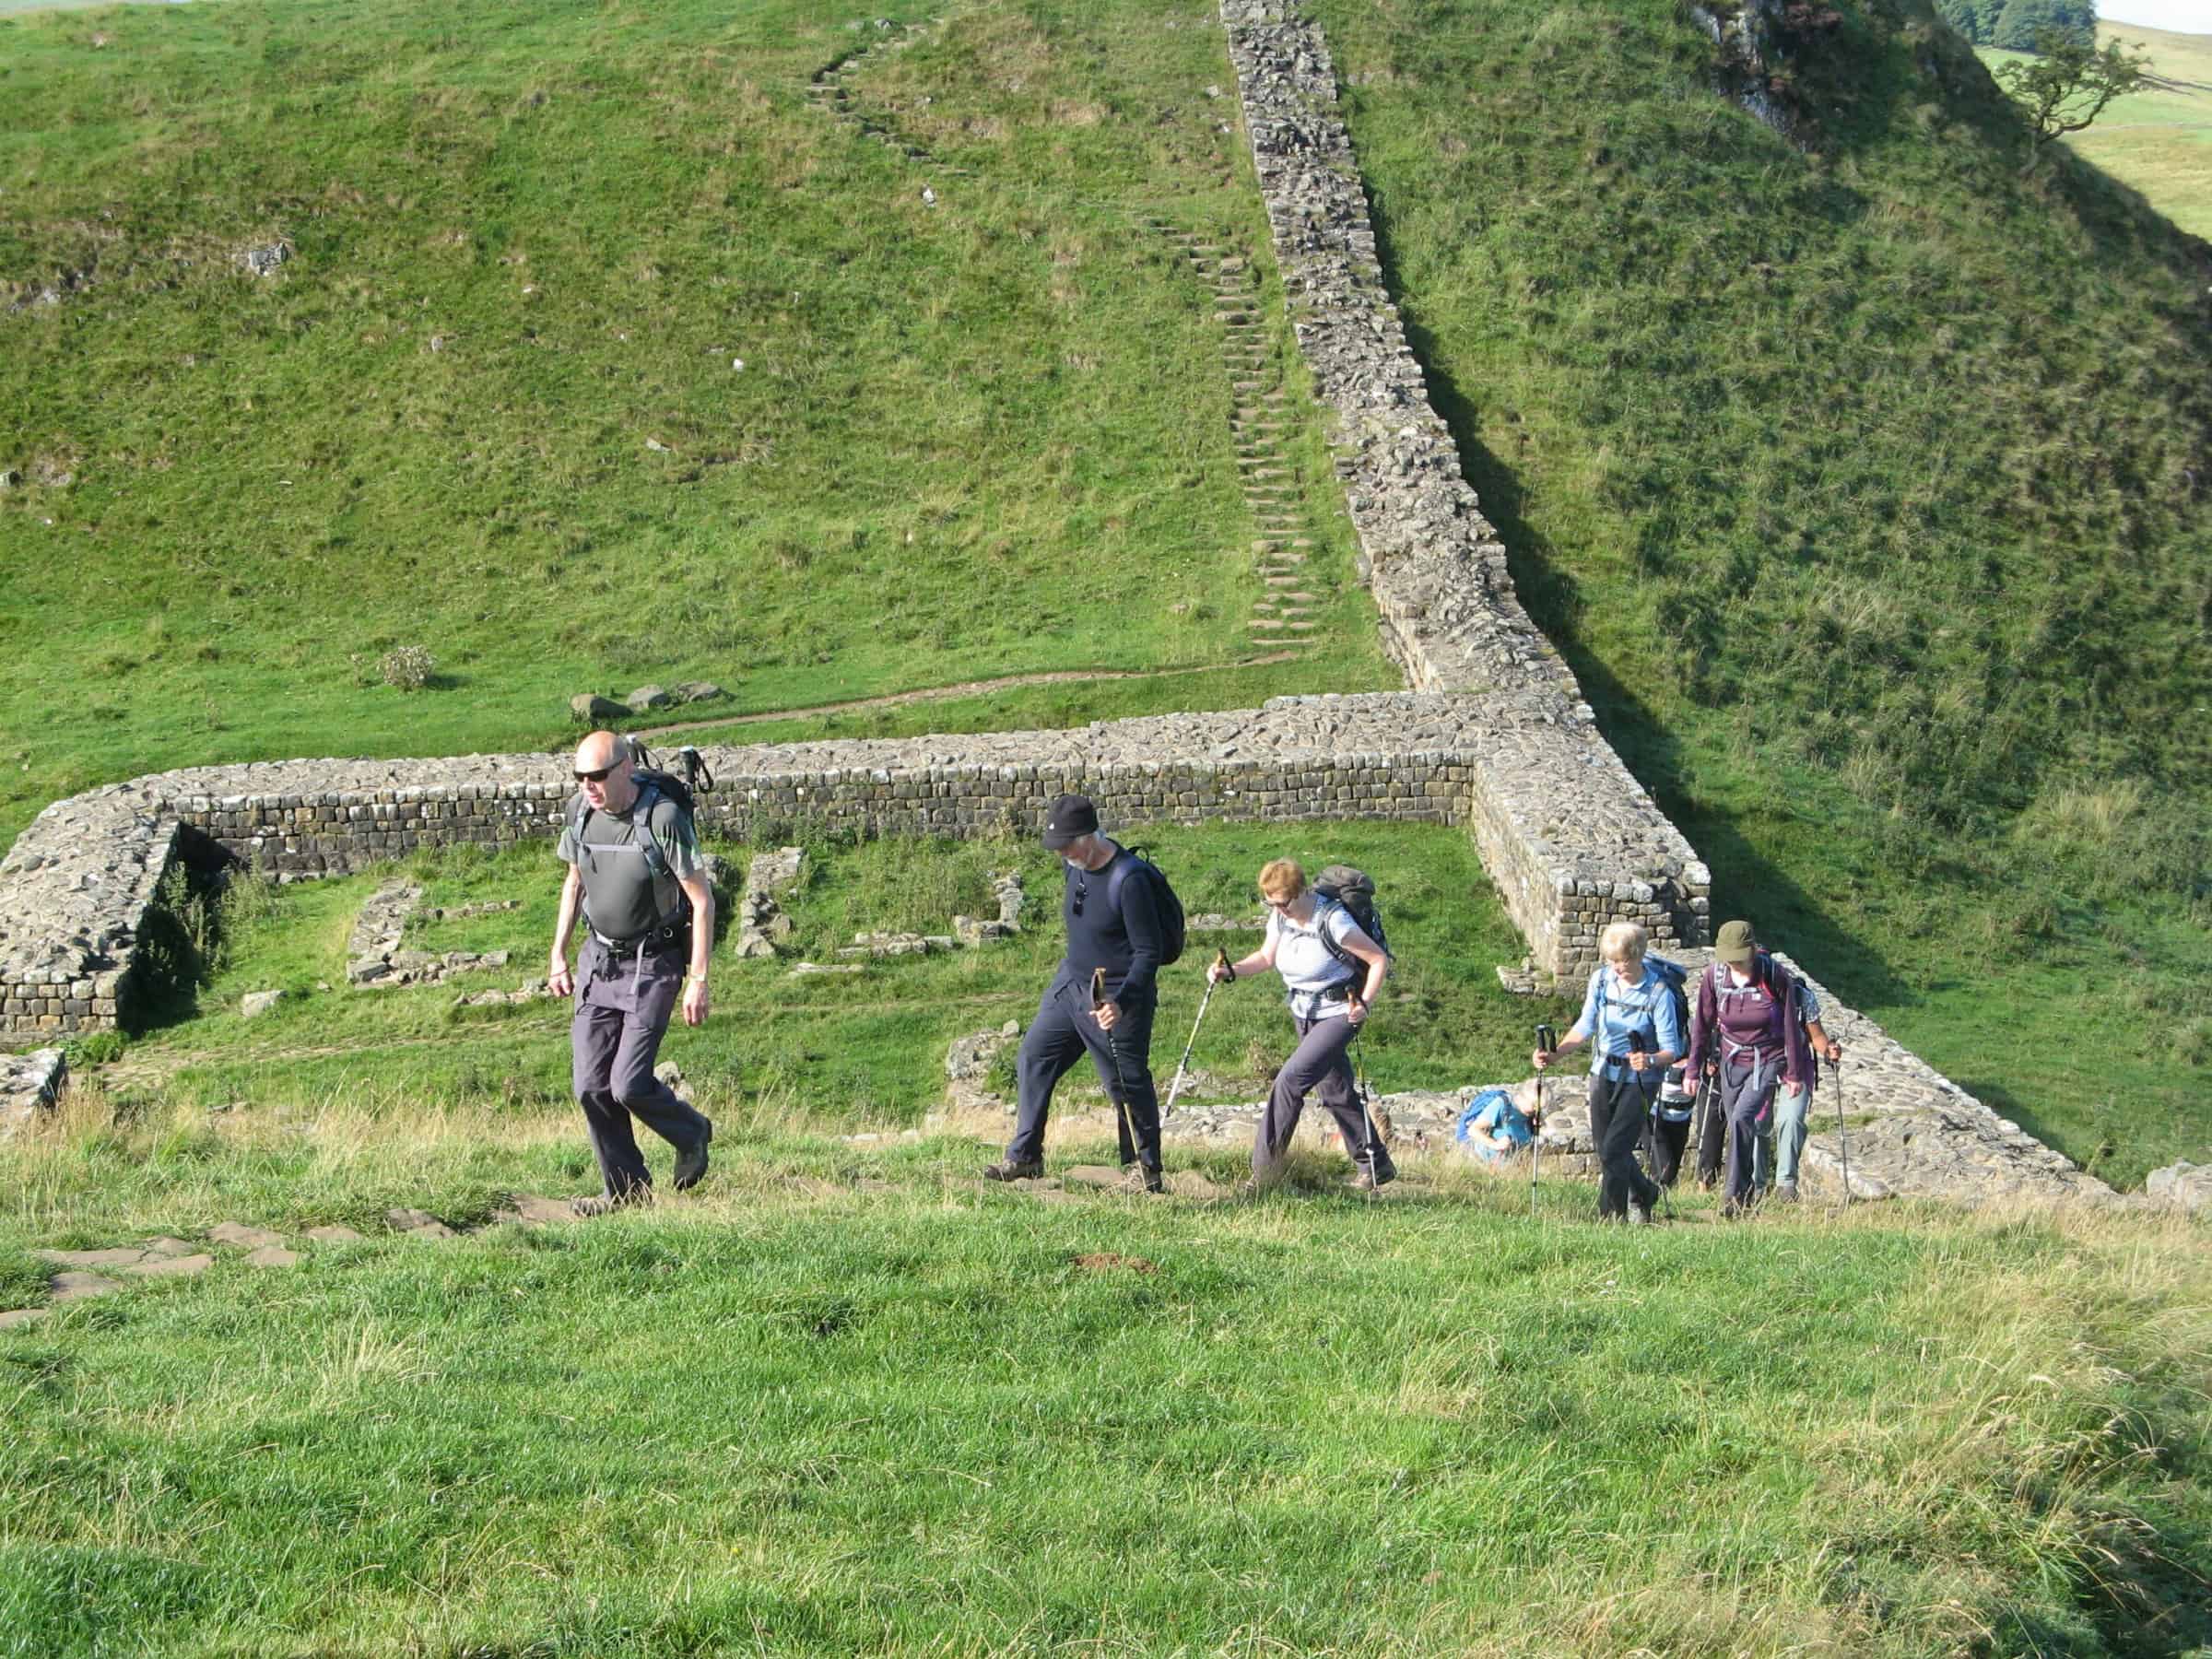
For many people their first taste of mountain walking is with an experienced guide or as part of a scheme such as the Duke of Edinburgh’s Award. Walking with someone else who is experienced is easily the safest way to get started in the mountains, but this is not a time to sit back and relax as you will want to start to learn to navigate for yourself.
Maps
Navigating using a map might seem like a thing of the past when you are out driving, with onboard SatNavs directing your every move. Navigation in the mountains is completely different – there are usually no roads and you could even be walking in an area without paths, meaning that using a map is a non-negotiable.
Digital or Paper Maps?
Some walkers will now use a digital map or other navigation app on their phone, but paper maps are still vital when you head into the mountains, for example if you need to take a bearing in poor visibility. Unlike on a phone, a paper map can be seen easily in bright sunlight or protected from torrential rain if you have a good map case. Paper maps don’t sap your phone battery and they also allow you to see the bigger picture. Good navigation requires both attention to detail and seeing the most important facts : “Where am I? Where do I want to get to? How do I get there?”. If you are walking 15 miles, you can see an overview of your whole route which is much more difficult on your phone. If you do use a digital map then it is important that you also have a paper back up, as a matter of safety.
Which Maths Topics are Useful for Navigating in the Mountains?
As with many other activities, there is a lot of maths lurking just below the surface. In mountain navigation there are three topics which are vital:
Scale
Coordinates
Bearings
Scale
To be able to use a map successfully you need to have an understanding of scale. (These skills will also be useful when you are using a digital map.) There are two main types of Ordnance Survey Maps – Explorer Maps which are at a Scale of 1:25 000 (4cm = 1 km) and OS Landranger maps which are at a scale of 1: 50 000 (2cm = 1km). (If you try the sport of Orienteering then you could be using a map with a scale such as 1: 5000.)
Typically the Explorer maps are more useful for walking and Landranger maps may be better suited for longer cycling routes. On ALL OS maps each grid square represents a 1km square on the ground. For Explorer maps this is a 4cm square; on Landranger maps the square is smaller with a length and width of just 2cm. Both represent a 1km square on the ground but the scale, and therefore the level of detail is different.
If your route on the Explorer map measures 20cm you must divide by 4 to calculate that it will be 5km when you actually walk it. If you want to measure a curved walking route, then you can take a piece of string to measure your route, before laying it against the scale on your map or compass, or you can try mapping it using a walking app.
Ordnance Survey Beginners Guide to Measuring Distance on a Map
You may also want to convert your distance in kilometres into miles. While many people are used to using kilometres, miles are still used in driving which means we can have an inbuilt sense of how long a mile is. One mile is approximately equal to 1.6km which means that our route of 5km is equal to 5/1.6 = 3.125 miles. (A good rule of thumb is that 5 miles is roughly equal to 8km).
Coordinates
Every point on your OS map can be described by a grid reference. First of all find the Eastings “Along the Corridor” (along the bottom of the map: like the x-axis) and then the Northings “Up the Stairs” (up the side of the map: like the y-axis). These will be familiar to you from your geography lessons. What you are doing here is effectively reading a graph, very much like when you learn to read (x,y) coordinates in maths – it is the same set of skills which you are using.
These coordinates, each containing two digits, place you somewhere inside one of the grid squares. It is a 4-figure reference. For greater accuracy we use tenths of a square to create a 6-figure reference. This is like using a decimal point without the decimal point! Now we are able to pinpoint 100 positions within each square.
GPS and phone apps use 8, 10 or even 12 figure references but in practice the 6-figure reference is fine.
Ordnance Survey Beginners Guide to Grid References
It is extremely useful to be able to pinpoint a location on a map – it can help when you are meeting friends in the outdoors, but it can also help in an emergency. If you are injured then you will need to communicate your precise location to Mountain Rescue. If you have a Smartphone and plenty of signal and battery then you can be sent a PhoneFind link by text message, however if the signal is low, then being able to read a 6-figure grid reference could still be important, even in the modern days of GPS.
Six Ways to Pinpoint your location – The British Mountaineering Council
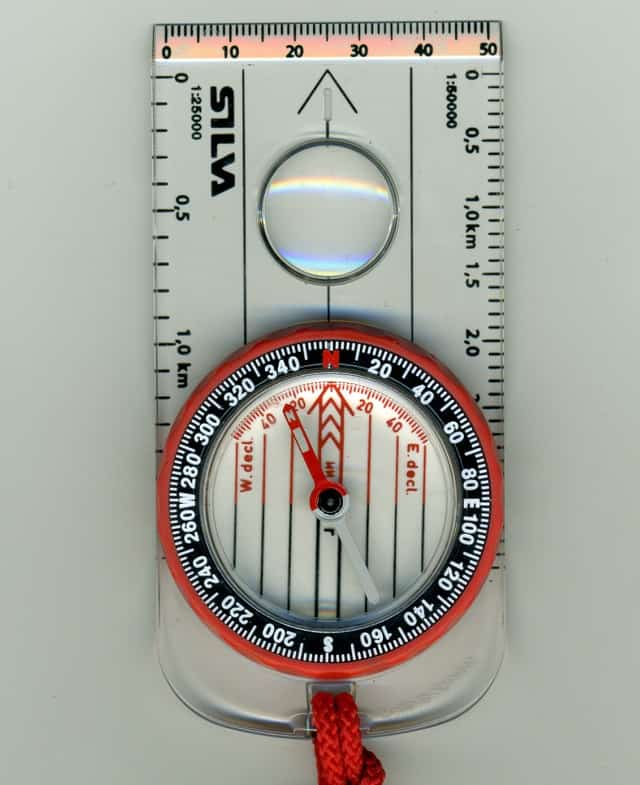
Bearings
In towns or cities there are lots of different features which you can use in navigation such as roads, houses and even distinctive trees. In a mountainous landscape you could find yourself in a place which has almost no distinguishing features – in fact there could be rolling heather which goes on for miles and nothing to really help you know where you are. How can you walk between two points on your map if you don’t have a path and your signal is weak? A similar situation could arise if the mist comes down and you can no longer see where you are.
In these situations you may need to take a Bearing using a compass. Taking and following a Bearing is a specific skill which you need to learn and practise before you visit the mountains, however the idea is based on the skills you have already developed during your maths lessons when you learnt about Bearings. Steady yourself by finding the north direction and measure the angle clockwise.
Speed, Distance, Time
One of the biggest reasons that people get into difficulty in the mountains is that they are ‘benighted’ which means that they don’t get home before dark and that they get into situations where it is unsafe to continue in the dark.
One reason for this is that they underestimated how long their walk would take. Using the Speed, Distance, Time rule, it is easy to presume that a 12 mile walk would take 4 hours, walking at a speed of 3 miles per hour. This doesn’t take into account gradient, terrain or stopping for breaks. If you are trekking through a bog, or climbing steeply, it is going to slow you down drastically. If the weather is changeable and you need to take waterproof clothing on and off it will delay you.
A traditional way of calculating the time needed, is to use Naismith’s rule which essentially says that you need 1 hour for every 3 miles walked, plus 1 extra hour for every 600m climbed. Naismith was a Victorian mountaineer, so many corrections have been proposed over the years, including taking into account fitness and the time it takes to descend. There is no one formula which can accurately predict the time you will take in the mountains, but you will need an understanding of the Speed, Distance, Time formula to make a good start.
Staying Safe in the Mountains
Mountain conditions can take anyone by surprise, especially if you are new to this type of terrain, and it is extremely important to take precautions, even on a sunny day. If you are under 18, don’t head to the mountains without an adult and make sure you follow this advice from the Mountain Rescue.
How to stay safe in the mountains by Mountain Rescue England and Wales
Remember that many moorlands or fells will also have mountainous conditions – you need to be just as careful in this type of environment, for example when walking in parts of the Yorkshire Dales or Peak District.
About the Author
The IMA would like to thank Michael Carding for his help in preparing this article. Michael is a semi-professional leader of walks, and is also a mathematician, poet and retired head teacher.
Image Credits
Featured Image by Tom from Pixabay
Compass image Arpingstone – Own work, Public Domain